
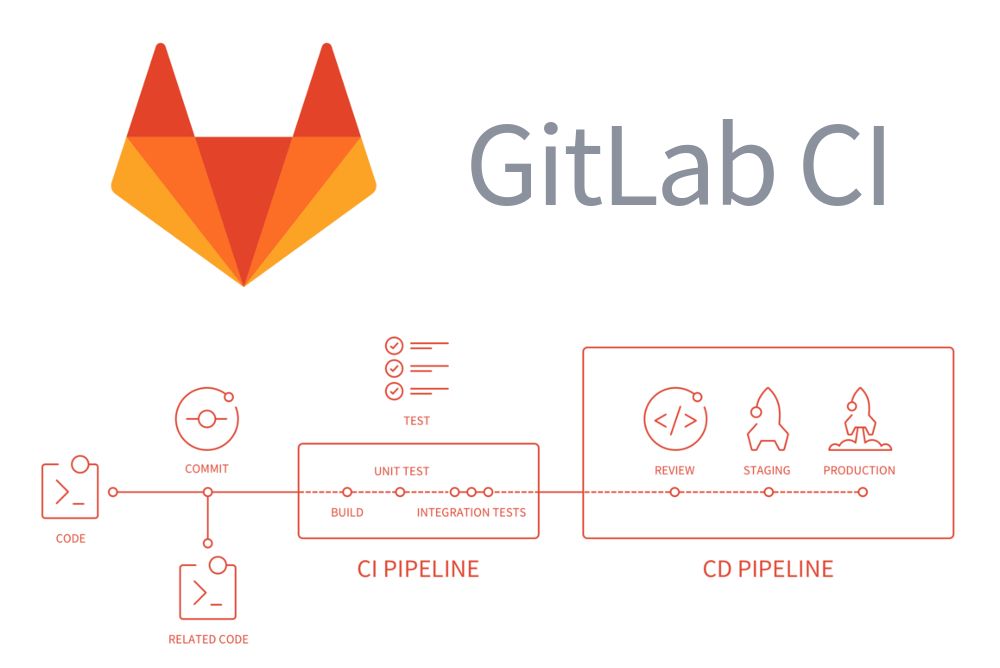
使用 Gitlab CI 部署应用到云服务器
使用 Gitlab CI 部署应用到云服务器
使用Gitlab CI 将自己静态网站(vuepress)部署到云服务器
# 一、 Gitlab安装部署和常用命令
# 二、 Gitlab runner 安装和配置
# 1. 安装 gitlab runner
依照官网进行安装
# 我当前centos 7 为  Linux x86-64
sudo curl -L --output /usr/local/bin/gitlab-runner https://gitlab-runner-downloads.s3.amazonaws.com/latest/binaries/gitlab-runner-linux-amd64

# 设置安装目录可执行
sudo chmod +x /usr/local/bin/gitlab-runner

# 直接使用 root 用户权限运行 gitlab-runner (或者其他用户,看需求)
sudo gitlab-runner install --user=root --working-directory=/home/gitlab-runner
#启动
sudo gitlab-runner start

# 如果提示命令  command not found  需要配置环境
# 添加软链接
ln -s -f /usr/local/bin/gitlab-runner /usr/bin/gitlab-runner

# 查看版本
gitlab-runner -v
2
3
4
5
6
7
8
9
10
11
12
13
14
15
16
17
# 2. 注册 gitlab-runner
通过管理员登录 gitlab ---- 管理中心---- 概况 ---- Runner 查看需要注册的 URL与 Token(令牌)
配置注册信息 gitlab-runner register
[root@localhost ~]#  gitlab-runner register
Running in system-mode.
# 引导会让你输入gitlab的url,输入自己的url,例如http://gitlab.example.com/
Please enter the gitlab-ci coordinator URL (e.g. https://gitlab.com/):
http://xxx.xxx.xxx:xxx/
# 引导会让你输入token,去相应的项目下找到token,例如xrjc3tWcdQpLcEwoYzkU
Please enter the gitlab-ci token for this runner:
xrjc3tWcdQpLcEwoYzkU
# 输入描述
Please enter the gitlab-ci description for this runner:
[localhost.localdomain]: develop
# 引导会让你输入tag,一个项目可能有多个runner,是根据tag来区别runner的,输入若干个就好了,比如web,hook,deploy,develop
Please enter the gitlab-ci tags for this runner (comma separated):
develop
# 是否运行未标记的版本
Whether to run untagged builds [true/false]:
[false]: false
# 是否将运行程序锁定到当前项目
Whether to lock Runner to current project [true/false]:
[false]: true
Registering runner... succeeded                     runner=xrjc3tWc
#  引导会让你输入executor,这个是要用什么方式来执行脚本,图方便输入shell就好了
Please enter the executor: shell, ssh, docker+machine, docker, docker-ssh, parallels, virtualbox, docker-ssh+machine, kubernetes:
shell
Runner registered successfully. Feel free to start it, but if it's running already the config should be automatically reloaded!
2
3
4
5
6
7
8
9
10
11
12
13
14
15
16
17
18
19
20
21
22
23
24
25
注册好后,在gitlab中相应的位置就可以看到你注册好的runner信息。
# 3. 自定义构建目录
gitlab-runner 配置说明 (opens new window)
对应的配置文件在 /etc/gitlab-runner/config.toml
修改配置文件,允许自定义git clone 的目录
此功能要求GIT_CLONE_PATH在其中定义的路径内runners.builds_dir。为了便于使用的builds_dir所述 $CI_BUILDS_DIR变量可被使用。
# 4. 对应执行命令
# 运行
gitlab-runner run
# 启动
gitlab-runner start
# 重启
gitlab-runner restart
# 通过name 取消注册
gitlab-runner unregister --name develop
# 删除所有注册runner
gitlab-runner unregister --all-runners
2
3
4
5
6
7
8
9
10
# 三、 gitlab-ci.yml
gitlab-ci.yml配置的特定关键字
在了解了YML文件的语法格式后,接下来需要了解的就是gitlab-ci独特的配置关键字,这些关键字将在.gitlab-ci.yml中使用,并用来控制一个pipeline具体的运作过程
gitlab提供了很多配置关键字,其中最基础和常用的有这么几个
- stages
- stage
- script
- tags
# 1. stages 和 stage
stages定义在YML文件的最外层,它的值是一个数组,用于定义一个pipeline不同的流程节点
例如定义如下三个阶段
stages: # 分段
  - install
  - build
  - deploy
2
3
4
则在Gitlab交互界面中能够看到如下展示

# 2. Job
Job是pipeline的任务节点,它构成了pipeline的基本单元
stage/script/tags这三个关键字,都是作为Job的子属性来使用的
install:
  tags:
    - sss
  stage: install
  script:
    - npm install
2
3
4
5
6
- stage 是一个字符串,且是stages数组的一个子项,表示的是当前的pipeline节点
- 正在执行是蓝色
- 尚未执行是灰色
- 执行成功是绿色
- 执行失败是红色
当前stage的执行情况能在交互面板上能看的清清楚楚
# 3. script
它是当前pipeline节点运行的shell脚本(以项目根目录为上下文执行)。
这个script是我们控制CI流程的核心,我们所有的工作:从安装,编译到部署都是通过script中定义的shell脚本来完成的。
如果脚本执行成功,pipeline就会进入下一个Job节点,如果执行失败那么pipeline就会终止
# 4. tags
tags是当前Job的标记,这个tags关键字是很重要,因为gitlab的runner会通过tags去判断能否执行当前这个Job
如果一个Job没有tag或者tag不是sss,那么即使这个Runner是激活且空闲的,也不会去执行!
# 四、 部署思路
# 1. 部署资源到云服务器
通过 scp 这一命令,将本地机器代码远程拷贝到云服务器上。
因为这一命令需要输入密码,所以通过 sshpass 命令携带密码再执行scp:
sshpass -p $PASSWORD scp -r ./build $CUSTOM_USERNAME@$CUSTOM_IP:/var/www/html
# 2. gitlab的自定义变量 Variables
Gitlab有自定义变量的功能,例如我们觉得直接在YML中写入密码/账号等信息不太好,那么可以通过美元符号$写入一个预定义的变量,然后在Gitlab面板上输入它
# 3. 编写简单的部署文件
stages: # 分段
  - install
  - build
  - deploy

cache:  # 缓存
  paths:
    - node_modules

install-job:
  tags:
    - web
  stage: install
  script:
    - yarn install

build-job:
  tags:
    - web
  stage: build
  script:
    - yarn docs:build

deploy-job:
  tags:
    - web
  stage: deploy
  script:
    - sshpass -p $PASSWORD scp -r ./docs/.vuepress/dist/ $CUSTOM_USERNAME@$CUSTOM_IP:/usr/share/nginx/html/pwa
2
3
4
5
6
7
8
9
10
11
12
13
14
15
16
17
18
19
20
21
22
23
24
25
26
27
28
29
# 4. YML的片段复用和模块化
际项目的运行中,.gitlab-ci.yml的编写可能会渐趋复杂。那么这个时候YML的一些其他语法功能就派上用场了
- YML的片段复用功能
- 使用 &符号可以定义一个片段的别名
- 使用 <<符号和 * 符号可以将别名对应的YML片段导入
.common-config: &commonConfig
  only: # 表示仅在develop/release分支上执行
    refs:
      - develop
      - release

install-job:
  # 其他配置 ....
  <<: *commonConfig
build-job:
  # 其他配置 ....
  <<: *commonConfig
2
3
4
5
6
7
8
9
10
11
12
- YML的模块化功能
gitlab-ci提供的include关键字便可实现这个功能, 它可以用来导入外部的YML文件
例如我们有如下的YML结构
 ├── .gitlab-ci.h5.yml'
 ├── .gitlab-ci.bd.yml'
 ├── .gitlab-ci.wx.yml
 └── .gitlab-ci.yml
2
3
4
那么在.gitlab-ci.yml中这么写,就可以对它们做合并
include:
  - '/.gitlab-ci.wx.yml'
  - '/.gitlab-ci.bd.yml'
  - '/.gitlab-ci.h5.yml'
2
3
4
gitlab-ci还提供了extend关键字,它的功能和前面提到的YML的片段导入的功能是一样的,可读性更好一些。
.common-config:
  only: # 表示仅在develop/release分支上执行
    refs:
      - develop
      - release

install-job:
  # 其他配置 ....
  extends: .common-config

build-job:
  # 其他配置 ....
  extends: .common-config
2
3
4
5
6
7
8
9
10
11
12
13
- Gitlab-ci的其他配置项
cache关键字 用来做缓存的
gitlab-ci 在运行下一个Job的时候,会默认把前一个Job新增的资源删除得干干静静
bulid阶段编译生成的包,会在deploy阶段运行前被默认删除!
如果我们把bulid生产的包的路径添加到cache里面,虽然gitlab还是会删除bulid目录,但是因为在删除前我们已经重新上传了cache,并且在下个Job运行时又把cache给pull下来,那么这个时候就可以实现在下一个Job里面使用前一个Job的资源了cache的功能体现在两点:
- 在不同pipeline之间重用资源
- 在同一pipeline的不同Job之间重用资源
artifacts关键字: 将生成的资源作为pipeline运行成功的附件上传,并在gitlab交互界面上提供下载
Build-job:
  stage: build
  script:
  - 'npm run build'
  artifacts:
    name: 'bundle'
    paths:
      - build/
2
3
4
5
6
7
8
这样在pipeline跑完后,视图页面会显示下载按钮
image/services: 使用Docker的镜像和服务运行Job
only/except: 这两个关键字后面跟的值是tag或者分支名的列表
- only的作用是指定当前Job仅仅只在某些tag或者branch上触发
- 而except的作用是当前Job不在某些tag或者branch上触发
job:
  # use regexp
  only:
    - /^issue-.*$/
    - develop
    - release
2
3
4
5
6
- allow_failure: 值为true/false, 表示当前Job是否允许允许失败。
job1:
  stage: test
  script:
    - execute_script_that_will_fail
  allow_failure: true
2
3
4
5
- timeout: 配置超时时间,超过时间判定为失败
Job:
  script: rspec
  timeout: 3h 30m
2
3
- When: 表示当前Job在何种状态下运行,它可设置为3个值
- on_success: 仅当先前pipeline中的所有Job都成功(或因为已标记,被视为成功allow_failure)时才执行当前Job 。这是默认值。
- on_failure: 仅当至少一个先前阶段的Job失败时才执行当前Job。
- always: 执行当前Job,而不管先前pipeline的Job状态如何。
# 五、问题和解决
# 1. gitlab-runner 未激活问题
注册之后,查看面板上Runner信息,发现处于未激活状态
解决办法 运行以下命令重新启动runner
sudo gitlab-runner verify
sudo gitlab-runner restart
2
# 2. Job一直挂起,没有Runner来处理
- 首先考虑的是不是Runner没有激活,如果没有那么按上面方式处理
- tag没有匹配到,上面说过,Runner注册时是要填写绑定tag的,如果你在YML里面编写Job没有带上tag是不会有自定义Runner来处理。解决方法:给Job加tags
- 最后一种可能:你连续注册了多个Runner,这些Runner冲突了,或者是新注册的Runner和旧Runner使用了同一个token,这时候的解决方法如下
先删掉本地其他旧的Runner
sudo gitlab-runner unregister --all-runners
然后重置token,并使用更新后的token重新注册一个Runner
# 六、Gitlab-ci和docker自动化构建发布
# 1. 服务器上配置免密操作
# 2. 用docker安装gitlab-runner
# 3. .gitlab-ci.yml文件
/做缓存的
cache:
  key: ${CI_PROJECT_NAME}
  paths:
    - node_modules/
//测试
# test_e2e:
#   image: cypress/browsers:chrome67
#   stage: test
#   script:
#     - npm i
#     - npm run test:e2e -- --headless --record --key b2a22185-8eeb-4f0e-9b21-2d61f769d8c7
#   only:
#     - master
//dev环境构建
dev:build:
  image: node
  stage: build
  script:
    - yarn
    - yarn build:dev
  only:
    - dev
  tags:
    - eye-runner
  artifacts:
    expire_in: 1 week
    paths:
      - dist //项目打包后的文件夹
//dev环境发布
dev:deploy:
  image: alpine:3.7
  stage: deploy
  script:
    - echo "http://mirrors.aliyun.com/alpine/v3.7/main/" > /etc/apk/repositories
    - apk add --no-cache rsync openssh
    - mkdir -p ~/.ssh
    - echo "$SSH_KEY_DEMO_PRIVATE" >> ~/.ssh/id_rsa
    - echo "$SSH_KEY_DEMO_PUB" >> ~/.ssh/id_rsa.pub
    - chmod 600 ~/.ssh/id_rsa
    - chmod 600 ~/.ssh/id_rsa.pub
    - echo -e "Host *\n\t StrictHostKeyChecking no \n\n" > ~/.ssh/config
    - rsync -rav --delete ./dist/ "$SERVER_DEMO_HOST:$SERVER_DEMO_PATH"//同步打包后的文件夹里的内容到nginx指定的静态资源文件夹
  only:
    - dev
  tags:
    - eye-runner
2
3
4
5
6
7
8
9
10
11
12
13
14
15
16
17
18
19
20
21
22
23
24
25
26
27
28
29
30
31
32
33
34
35
36
37
38
39
40
41
42
43
44
45
46
47